Basics : Install Eclipse Plugins Fedora
Installing Eclipse onto Fedora 14 - X86_64
- Start with a clean install of Fedora 14, preferably from a live CD. For my examples I used the 64 bit edition.
- When the install is complete, open a terminal window and run yum update to bring your system up to date. You may have to reboot once this is done.
- Install Eclipse (Helios 3.6.1) with the command yum groupinstall "Fedora Eclipse".
- That's it! You can now use Eclipse to build C, C++ or Java programs.
Starting Eclipse for the First Time
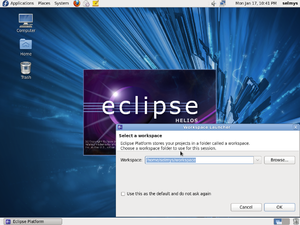
When starting Eclipse you are prompted for the directory that will hold your projects. The default directory is called workspace.
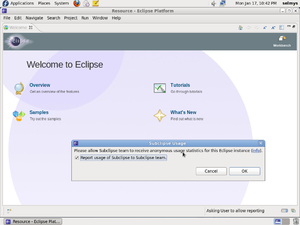
Your first screen is the welcome window. Also, notice the prompt asking if you'd like to send your Eclipse usage statistics to the Subeclipse team. You can decline by clicking cancel or accept by clicking OK. The welcome window offers new Eclipse users opportunities to view an overview of Eclipse, work through tutorials, try sample programs and to find out what's new with this version of Eclipse. For now just close the welcome window.
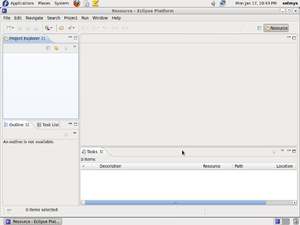
This is the Eclipse IDE (Integrated Development Environment) otherwise known as the Workbench. The Workbench contains a menu bar and several smaller windows called Views.
Your Home Directory on Fedora
When using Eclipse on Fedora there are several directories in your home directory that it makes use of:
- .eclipse - This directory holds your plugins. For example, Eclipse on Matrix was installed without many plugins. Each student can use Eclipse to install their own plugins.
- .subversion - This directory holds your subversion (SVN) user names and passwords to your subversion repositories.
- workspace - This directory holds the code for your projects
NOTE: Sometimes when I want to start with a clean slate I delete all three directories using the command rm -rf .eclipse .subversion workspace. But be advised that you could end up deleting valuable data that you may not be able to recover so use this wisely.


