HelloSWT Application Using Eclipse
HelloSWT Application Using Eclipse
This example demonstrates how to build a simple Hello SWT example GUI using Eclipse.
- Start Eclipse and open the Java perspective.
- Create a new Java project. Name it HelloSWT. Click Next.
- Open the Libraries tab and click Add Variable.
- Click Configure Variables.
- Click New.
- Set the name to LIB_SWT.
- Click File.
- From the Places menu, select File System.
- Go to /usr/lib64/eclipse directory.
- Select swt.jar and click Ok.
- Click Ok again.
- You should see LIB_SWT set as a classpath variable.
- Click Ok.
- Then click Finish.
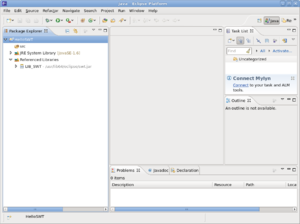
You should end up with this:
Now add a new class to your project. Call this class HelloSWT, set the package name to ca.on.senecac.scs, select "public static void main" and paste in this code.
import org.eclipse.swt.SWT;
import org.eclipse.swt.widgets.Display;
import org.eclipse.swt.widgets.Shell;
import org.eclipse.swt.widgets.Text;

public class HelloSWT {

   public static void main (String [] args) {
       Display display = new Display ();
       Shell shell = new Shell(display);

       Text helloSWT = new Text(shell, SWT.NONE);
       helloSWT.setText("Hello SWT");
       helloSWT.pack();

       shell.pack();
       shell.open ();
       while (!shell.isDisposed ()) {
           if (!display.readAndDispatch ()) display.sleep ();
       }
       display.dispose ();
   }
}
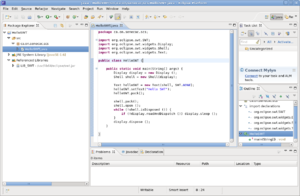
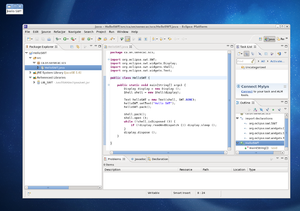
You should now have something like this.
Finally, save your work and then run the project as a Java application. You should get this small window showing somewhere on your desktop.
Congratulations, you're done!


