Team1/Writing and running JUnit tests
16. Writing and running JUnit tests
1. Writing Tests
- a) Create a project named "JUnitTest". We can now write our first test.
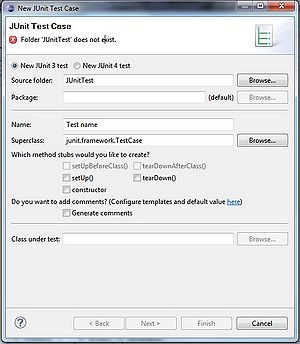
- b) Using the wizard, File -> New -> JUnit Test Case
- c) Select New JUnit 3 test radio button and enter a name for your test class
- d) You may see a warning message asking you to add the JUnit library to the build path. Use the "Click Here" link to add it automatically.
- e) click "Finish" to create the test class
2. Running Tests
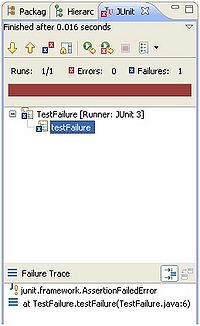
- a) To run a test case, simply hit the run button in the toolbar as it will automatically run as JUnit Test.
- b) To inspect the results, you can see them in the JUnit view. This view will show the test run progress and status.

