MAP524/DPS924 Lab 4
Revision as of 22:09, 12 July 2015 by Andrew (talk | contribs) (Created page with 'Create a simple Android app, named FragmentExample that continues from the example given in this week's lecture. Once you have …')
Create a simple Android app, named FragmentExample that continues from the example given in this week's lecture.
Once you have the basic app running correctly from the notes, make these modifications:
- Change the background colour of each of the layout files to something more light and pleasing - not the dark red, green and blue (RGB) used in the original app.
- Change the two text views in each fragment layout to image views.
- Find two image (png) files and add them to the drawable directory of your app.
- Change each fragment layout to these images.
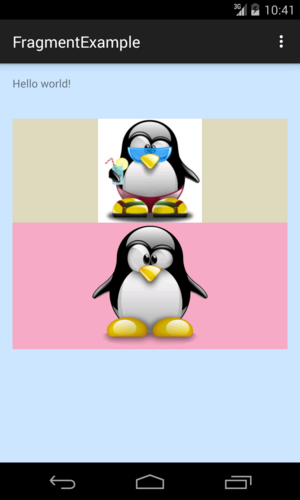
- At this point you should run your app. It should look something like this:
- Notice that one image has a white background while the other has a transparent background.
- Also notice the background colours are a little nicer than in the original app (but come up with your own).
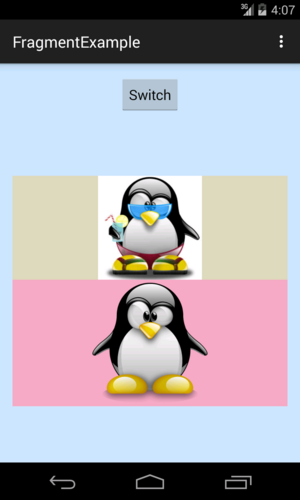
- Now change the text view in the main activity's layout to a button instead. Label the button Switch.
- Note: the label on the button should be defined in the strings.xml file
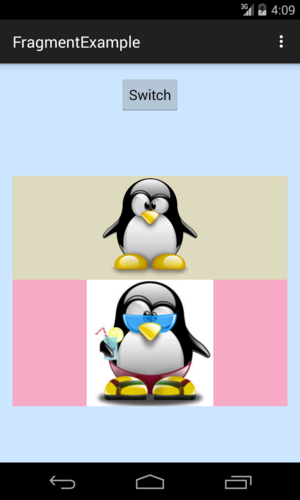
- Now click the button several times to show your app functions correctly.
- To stop recording just hit CTRL-SHIFT-ALT-R a second time.
- Your recording is saved in your home directory


