Tung mediawiki conf
Installing and Configuring MediaWiki
Introduction
MediaWiki is a free web application that allows people collaborate to contribute knowledge. It also allows a uneducated person to pretend a scholar; Moreover, people can rewrite copyright works to share them to public.
This page guides you installing and setting up MediaWiki. After the installation, you will setup a MySQL database account and a super user account. It assumes that you have installed MySQL server, and Apache server has been tested.
Instruction
- Install php:
yum install php - Install MediaWiki, downloaded size 72M, installed size 209 M:
yum install mediawiki - Edit MediaWiki's httpd configuration file:
/etc/httpd/conf.d/mediawiki.conf.Uncomment the first two Alias lines - Restart Apache server:
service httpd restart - Access
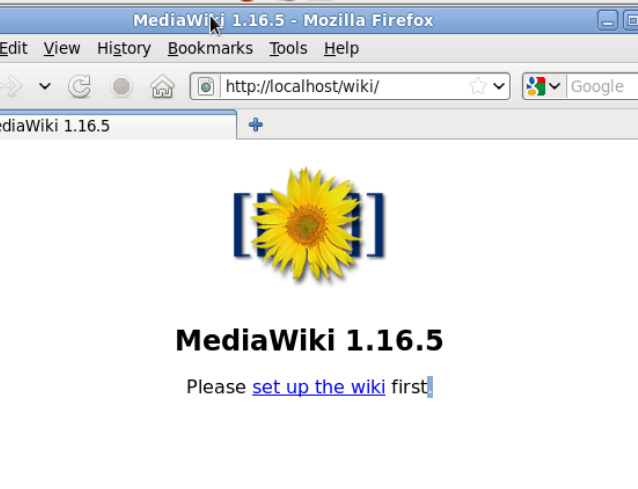
http://localhost/wikifrom a brower. The welcome page should display (Figure 1). - Before clicking the setup link, you need to add context
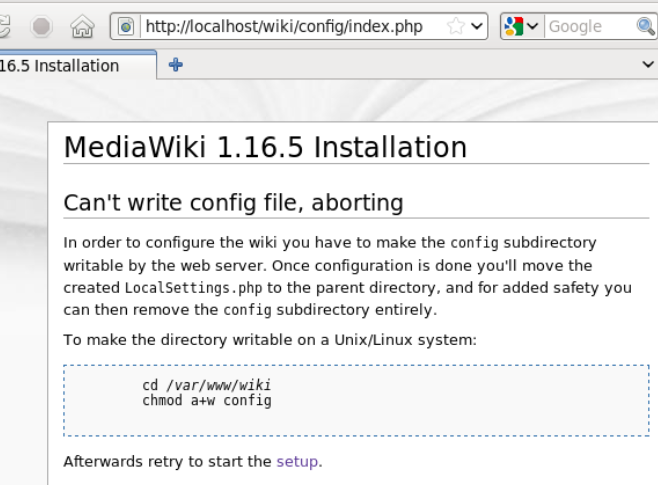
httpd_sys_script_rw_ttype to/var/www/wiki/configdirectory. It allows MediaWiki to read and write files inside config directory. Otherwise, crazy selinux will block the write process, and you will get error message “Can't write config file, aborting”.(Figure 2)- Add context:
semanage fcontext -at httpd_sys_script_rw_t "/var/www/wiki/config(/.*)?" - Apply context:
restorecon -vRF "/var/www/wiki/config"
- Add context:
- Click the link “set up the wiki” in
http://localhost/wiki - Enter the setup information for MediaWiki:
- Give a name for your wiki page
- Enter your learn e-mail address as the contact information
- Disable all useless e-mail features
- Leave the database host as "localhost"
- Set up a database password
- Get MediaWiki to set up the superuser account by checking the appropriate box
- Entering the MySQL root password.
- Push the “Install MediaWiki” button. After one minute, this message should display “Installation successful!”
- Move the
config/LocalSettings.phpfile to the parent directory. - Click the finished link. The main page display.

