Difference between revisions of "Basics : Develop Simple Apps Fedora"
(→Your First C Program in Eclipse) |
(→Your First C Program in Eclipse) |
||
| Line 1: | Line 1: | ||
== Your First C Program in Eclipse == | == Your First C Program in Eclipse == | ||
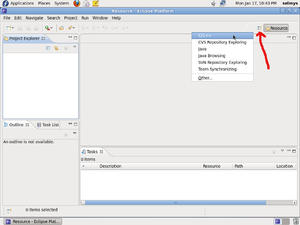
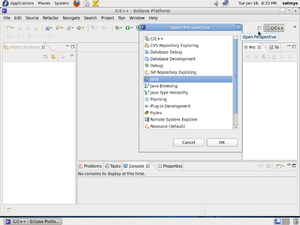
| + | [[Image:Screenshot-3.png|left|thumb]]The first thing you have to do is to select the C/C++ perspective. You can do this by clicking the icon pointed to by the red arrow and selecting C/C++. | ||
| − | |||
| − | |||
| Line 8: | Line 7: | ||
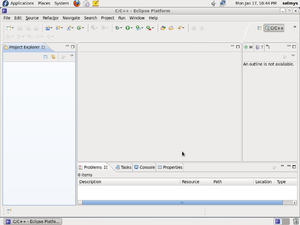
| + | [[Image:Screenshot-4.png|left|thumb]]Your workbench is now configured for C/C++ development. | ||
| − | |||
| − | |||
| Line 18: | Line 16: | ||
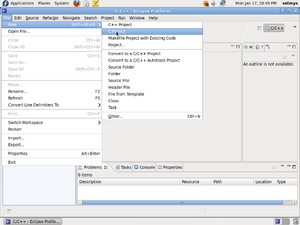
| + | [[Image:Screenshot-5.png|left|thumb]]Next select '''File, New, C Project''' from the main menu. | ||
| − | |||
| − | |||
| Line 28: | Line 25: | ||
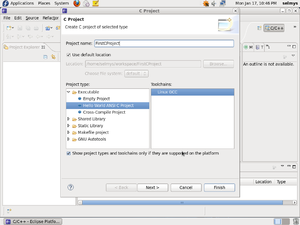
| + | [[Image:Screenshot-7.png|left|thumb]]Enter the name of your project, '''FirstCProject''', and for the executable type select '''Hello World ANSI C Project''', and then click on the '''Finish''' button. | ||
| − | |||
| − | |||
| + | [[Image:Screenshot-8.png|left|thumb]]Notice that you now have a simple Hello World program in the editor window. If you like you may make a small change to the program and save it or you can just leave it as is. | ||
| Line 42: | Line 39: | ||
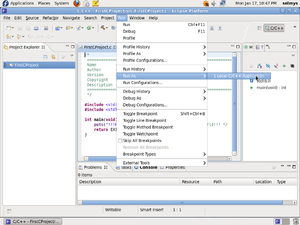
| − | + | [[Image:Screenshot-9.png|left|thumb]]To execute the program select '''Run As''' from the '''Run''' menu. Then select '''Local C/C++ Application'''. | |
| − | [[Image:Screenshot- | ||
| Line 52: | Line 48: | ||
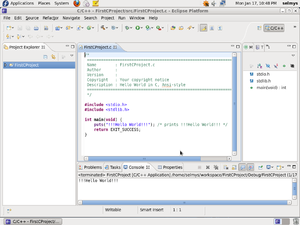
| − | + | [[Image:Screenshot-10.png|left|thumb]]The output of your program is displayed in the '''Console''' window at the bottom of the workbench. | |
| − | [[Image:Screenshot- | ||
| − | |||
| − | |||
| − | |||
| − | |||
| − | |||
| − | |||
| − | |||
| − | |||
| − | |||
Revision as of 19:55, 18 January 2011
Your First C Program in Eclipse
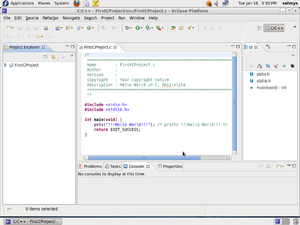
The first thing you have to do is to select the C/C++ perspective. You can do this by clicking the icon pointed to by the red arrow and selecting C/C++.
Congratulations! You've just run your first C program using Eclipse.
Your First Java Program in Eclipse
First, start by selecting the Java perspective.
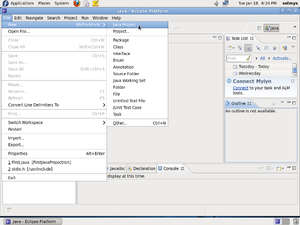
In the Java perspective select File, New, Java Project.
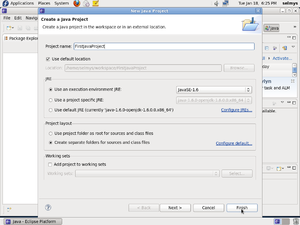
Enter your Java project name, FirstJavaProject and then click Finish.
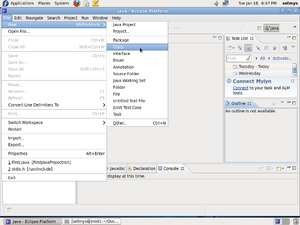
Select File, New, Class.
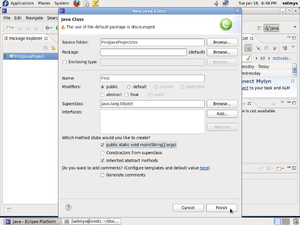
Now enter the name of your class, First and check the box public static void main(String[] args) and then click Finish.
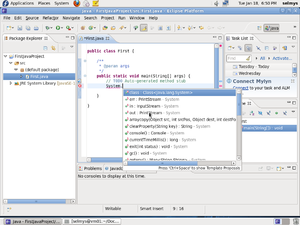
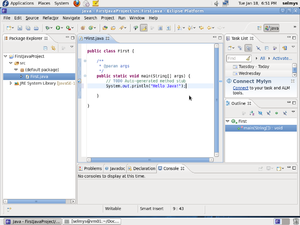
In the edit view add in your print method as shown.
Your Java program is now complete.
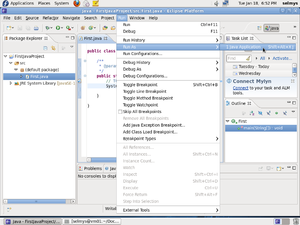
Save your program and then select Run, Run As, Java Application.
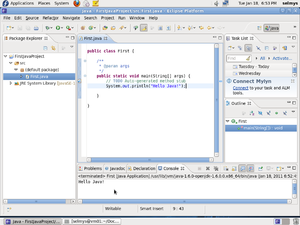
The output of your program is shown in the Console view.
Congratulations! You've just run your first Java program using Eclipse.
