Difference between revisions of "Teams Winter 2011/team1/Android/Create Android Project"
| Line 5: | Line 5: | ||
1.3. Change the icon for the application. Add the icon to the ''drawable'' folders first and then open '''AndroidManifest.xml'''.<br/> | 1.3. Change the icon for the application. Add the icon to the ''drawable'' folders first and then open '''AndroidManifest.xml'''.<br/> | ||
Click ''"Application"'' tab and Browse to the newly added icon:<br/> | Click ''"Application"'' tab and Browse to the newly added icon:<br/> | ||
| − | [[Image: IconChange.png | 700px]] | + | [[Image: IconChange.png | 700px]]<br/> |
| + | 1.4. Run the application: ''Right Click -> Run As... -> Android Application''<br/> | ||
| + | [[Image: Create2.png | 400px]]<br/> | ||
| + | 1.5. Click on the application icon. You should see the following:<br/> | ||
| + | [[Image: Create3.png | 400px]] | ||
Revision as of 14:44, 22 March 2011
1. Create Android Project
1.1. Install necessary plug-ins for Android application development.
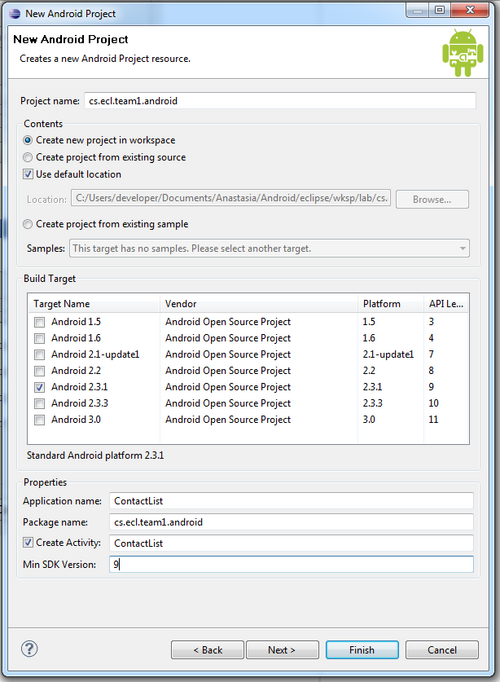
1.2. Create a new android project: File -> New -> Android Project:

1.3. Change the icon for the application. Add the icon to the drawable folders first and then open AndroidManifest.xml.
Click "Application" tab and Browse to the newly added icon:
![]()
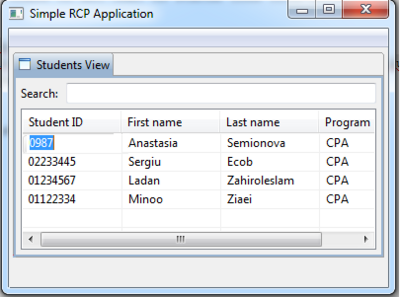
1.4. Run the application: Right Click -> Run As... -> Android Application

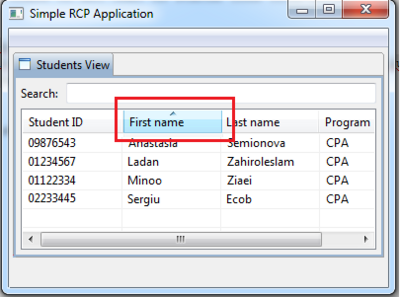
1.5. Click on the application icon. You should see the following:
