Difference between revisions of "Teams Winter 2011/team1/RCP/Create RPC Application"
Ladanzahir (talk | contribs) (→Run The Application) |
Ladanzahir (talk | contribs) (→Run The Application) |
||
| Line 20: | Line 20: | ||
==== Run The Application ==== | ==== Run The Application ==== | ||
| + | To run the application, right click on the project and select :Run As> Eclipse Application. Alternatively, you can click on the "Run an Eclipse Application" In the "Testing section of the project Overview window. | ||
[[Image: RCPRun1.jpg | 700px]]<br/> | [[Image: RCPRun1.jpg | 700px]]<br/> | ||
| + | <br/> | ||
| + | At this point, the application starts and looks like this: | ||
[[Image: RCPRun2.jpg | 350px]]<br/> | [[Image: RCPRun2.jpg | 350px]]<br/> | ||
Revision as of 15:21, 8 March 2011
Contents
Create a RCP Application
Start The Application
Create an new plug-in project from File menu (File>New>Project>Plug-in Development> Plug-in project).
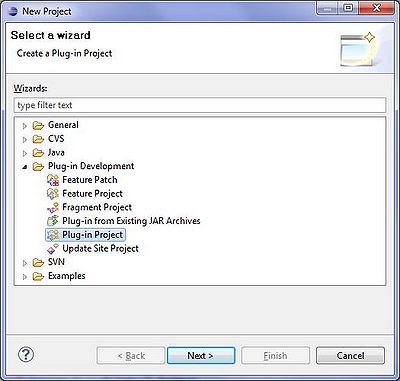
Name it: "cs.ecl.rcp.SimpleRCP"
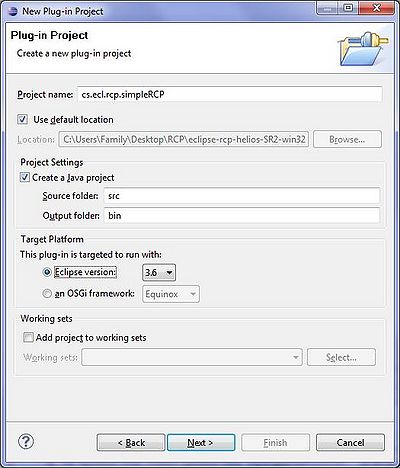
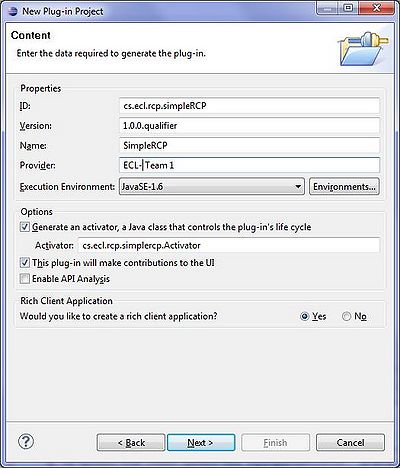
Select "Yes" in responce to the question:" Would you like to create a rich client application?"
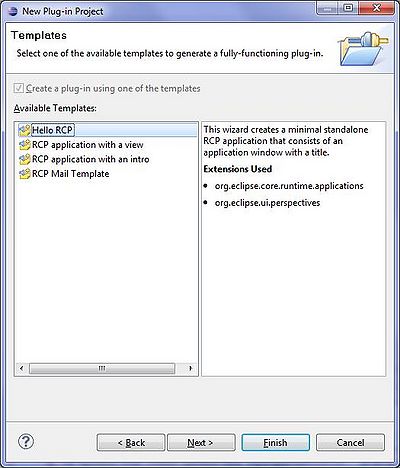
Select the "Hello RCP" in the Templates screen.
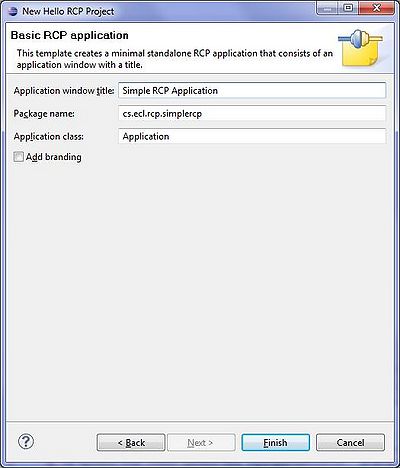
Un-check "Add branding".
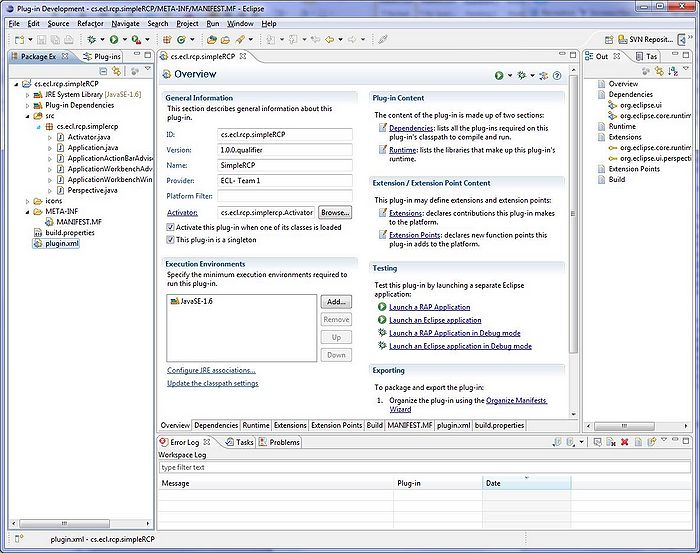
The "RCP" project is created with some classes already in it. We will modify this project to create our RCP application for the purpose if this tutorial.
Run The Application
To run the application, right click on the project and select :Run As> Eclipse Application. Alternatively, you can click on the "Run an Eclipse Application" In the "Testing section of the project Overview window.
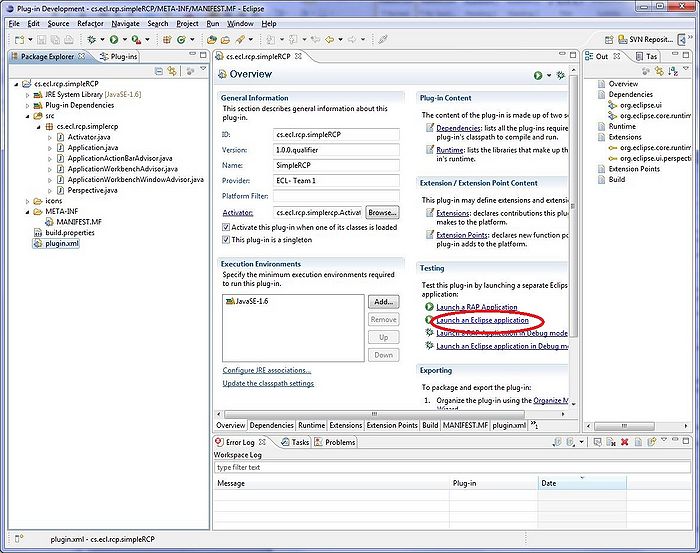
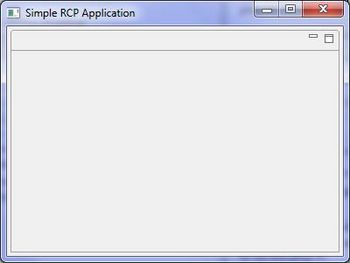
At this point, the application starts and looks like this:
