Difference between revisions of "Hello Android"
(→Hello Android Application on Fedora) |
(→Hello Android Application on Fedora) |
||
| Line 20: | Line 20: | ||
[[Image:hello-android-9.png|left|thumb]]<br style="clear:left;" /> | [[Image:hello-android-9.png|left|thumb]]<br style="clear:left;" /> | ||
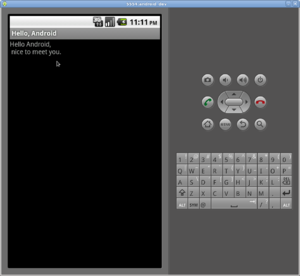
<li>Finally, click on the Menu button on the Android emulator and you should see the results of your Hello Android application. | <li>Finally, click on the Menu button on the Android emulator and you should see the results of your Hello Android application. | ||
| + | [[Image:hello-android-10.png|left|thumb]]<br style="clear:left;" /> | ||
</ol> | </ol> | ||
Congratulations! You've just run your first Android app. | Congratulations! You've just run your first Android app. | ||
| − | |||
Latest revision as of 18:40, 5 March 2011
Hello Android Application on Fedora
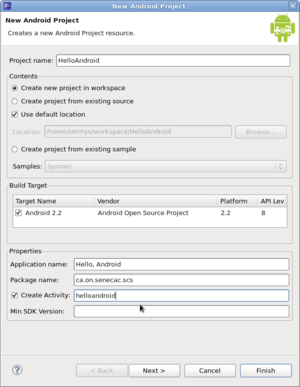
- Start by creating a new Android project. Fill in the project name, Application name, Package name and Activity.
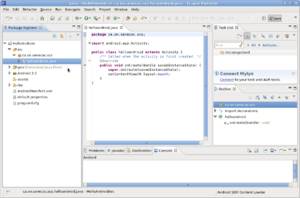
- Open up the helloandroid.java program in the edit window.
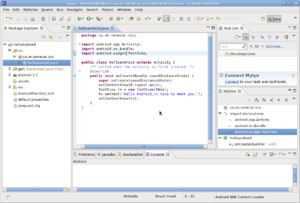
- Modify the code so that it looks similar to this.
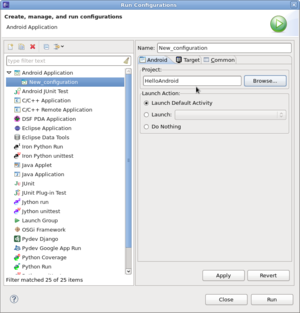
- Create a new run configuration for the project. Click Apply but don't run the application yet. Just close this window.
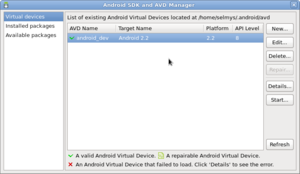
- Open up the Adndroid SDK and AVD manager. Select the platform to run on (2.2 in my case) and click the Start button.
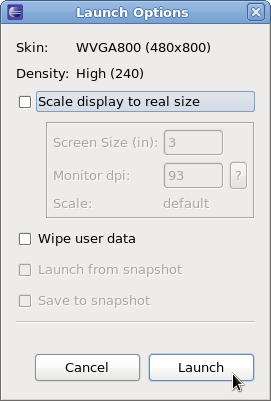
- In the Launch window just click Launch to start the emulator.
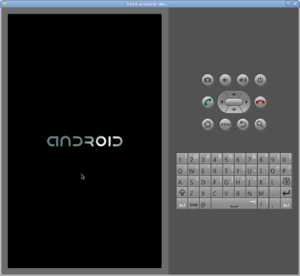
- The Android emulator will start out looking like this.
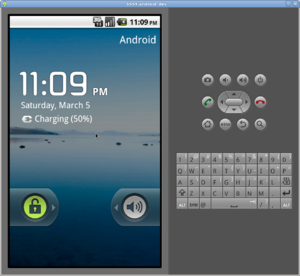
- But then it will switch to this after a minute or so.
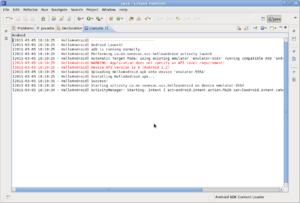
- Now Run your Android application. The Console window might look something like this.
- Finally, click on the Menu button on the Android emulator and you should see the results of your Hello Android application.
Congratulations! You've just run your first Android app.
