Difference between revisions of "Your First Connection to a SVN Repository"
(→Your First Connection to an SVN Repository) |
(→Your First Connection to an SVN Repository) |
||
| Line 20: | Line 20: | ||
Finally Run your program as a Java Application. | Finally Run your program as a Java Application. | ||
[[Image:s10.png|left|thumb]]<br style="clear:left;" /> | [[Image:s10.png|left|thumb]]<br style="clear:left;" /> | ||
| − | '''Congratulations!''' You've checked out a Java application from an SVN repository. | + | '''Congratulations!''' You've checked out a Java application from an SVN repository and compiled and ran it. |
Latest revision as of 17:13, 19 January 2011
Your First Connection to an SVN Repository
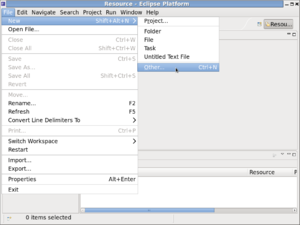
First, start with a new Eclipse and select File, New, Other.
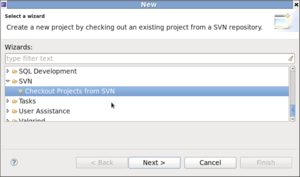
Select "Checkout Projects from SVN" and click Next.
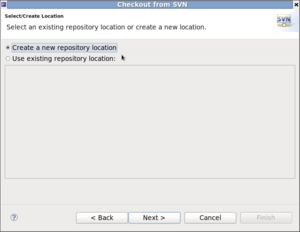
Click Next on "Create a new repository location".
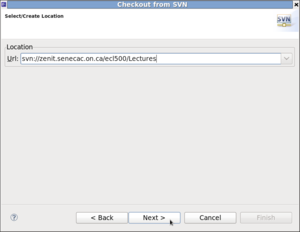
For the URL enter "svn://zenit.senecac.on.ca/ecl500/Lectures".
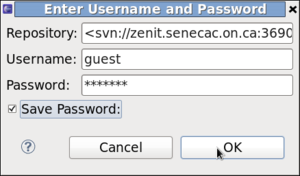
Enter "guest" for the user name and "1673852" for the password. Also check the "Save Password" box - the password will be saved in your .subversion directory.
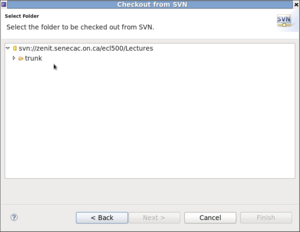
You may now select the folder you wish to checkout.
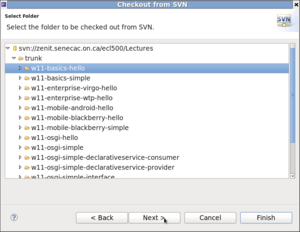
Select the "w11-basics-hello" folder.
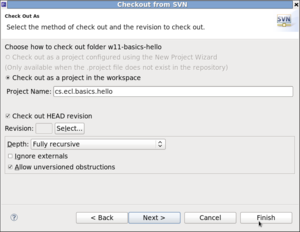
Click Finish to complete your checkout.
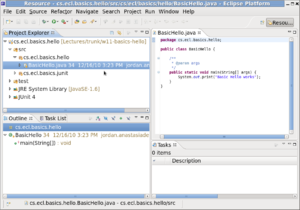
Open "BasicHello.java" so it's visible in your editor.
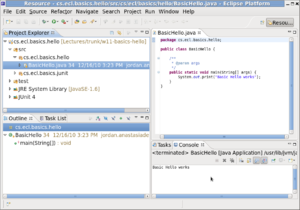
Finally Run your program as a Java Application.
Congratulations! You've checked out a Java application from an SVN repository and compiled and ran it.
