Difference between revisions of "Pixels"
(→Part 1) |
(→Part 1) |
||
| Line 9: | Line 9: | ||
=== Part 1 === | === Part 1 === | ||
| − | In part one we were looking at using CImg c++ library to optize the code. One idea was to use ASCII art, by taking a grayscale image and turning it into a text file. Each individual character would represent a portion of an image. It was important to keep the ratio or x, y pixels fixed and equal to that of monospace font. We estimated that to be about 8x:5y. | + | In part one we were looking at using CImg c++ library to optize the code.<br/> |
| + | (Yuriy Kartuzov)One idea was to use ASCII art, by taking a grayscale image and turning it into a text file. Each individual character would represent a portion of an image. It was important to keep the ratio or x, y pixels fixed and equal to that of monospace font. We estimated that to be about 8x:5y. Below is a sample of original and ascii art image. <br/> | ||
| + | [[File:file1.png|650px]]<br/>[[File:file2.png|650px]]<br/> | ||
| + | Scaling of characters is problematic when fonts size gets smaller then 4-5 pixels, so image above is of lower quality then otherwise possible. If we zoom in then individual characters become visible <br/> | ||
| + | [[File:file3.png|650px]]<br/>[[File:file4.png|650px|]]<br/> | ||
| + | The idea was to take a handful of pixels and average it to a single grayscale value. It is possible because each pixel's luminosity is expressed as a single value from 0 - 255. Then we would create a look up table of how each character is mapped to the same grayscale value. During our research we found that there is an unofficial standard 70 characters.<br/> | ||
| + | [[File:file5.png]]<br/> | ||
| + | I was going to use CImg library to import and image and get at it's pixel data. However on a MAC there was an issue, it complained about X11 library not being found (Mac dropped support for X11). There is open-source project that can be installed on the Mac www.xquartz.org, however that did not help. I tried setting different flags in CImg header file without success.<br/><br/> | ||
| + | I moved on to trying to code my own BMP decoder by reading specification for this file format found [https://www.fileformat.info/format/bmp/egff.htm here]. This proved to be harder that I thought since each BMP file is split into 4 parts: File header, Info header, RGB array and colour-index (actual data). And parsing would depend on different flags in those headers, which was way more work then I was willing to take on. This also was pretty far from course curriculum of putting the code on GPU. <br/><br/> | ||
| + | |||
| + | (Adam Kolodko) was looking into taking a function from CImg library that is used to resize the image.<br/> | ||
| + | <code> CImg<T> get_resize(const int size_x, const int size_y = -100, | ||
| + | const int size_z = -100, const int size_c = -100, | ||
| + | const int interpolation_type=1, const unsigned int boundary_conditions=0, | ||
| + | const float centering_x = 0, const float centering_y = 0, | ||
| + | const float centering_z = 0, const float centering_c = 0); | ||
| + | </code> | ||
| + | |||
| + | |||
| + | However this function uses different approaches to do that depending on the size of the image and other properties, which meant that optimized code would only run in certain cases. And also it already has multithreading implemented for some of it's computationally intensive tasks.<br/><br/> | ||
| + | |||
| + | We also played with the idea of modelling/plotting large data interactively in the browser by using Plotly.JS, the website could be found [https://gpu610.herokuapp.com here] <br/><br/> | ||
=== Part 2 === | === Part 2 === | ||
Revision as of 14:28, 15 April 2018
GPU610/DPS915 | Student List | Group and Project Index | Student Resources | Glossary
Contents
[hide]Pixels
Team Members
Progress
Part 1
In part one we were looking at using CImg c++ library to optize the code.
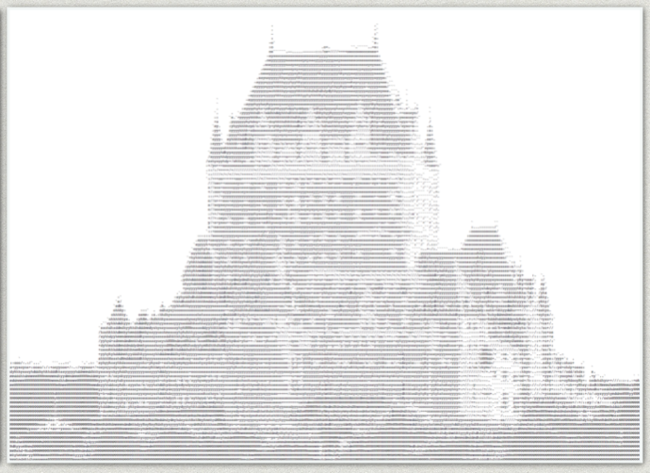
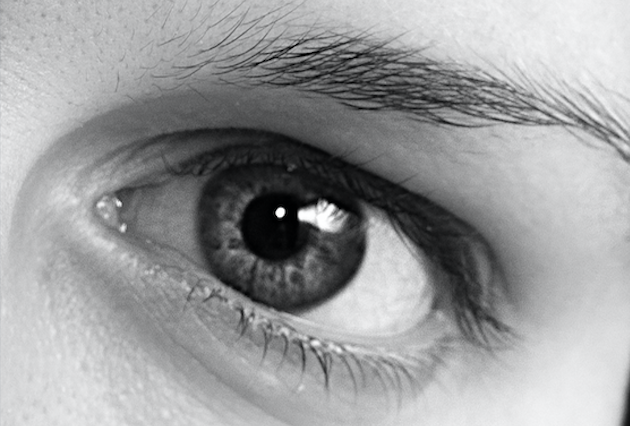
(Yuriy Kartuzov)One idea was to use ASCII art, by taking a grayscale image and turning it into a text file. Each individual character would represent a portion of an image. It was important to keep the ratio or x, y pixels fixed and equal to that of monospace font. We estimated that to be about 8x:5y. Below is a sample of original and ascii art image.


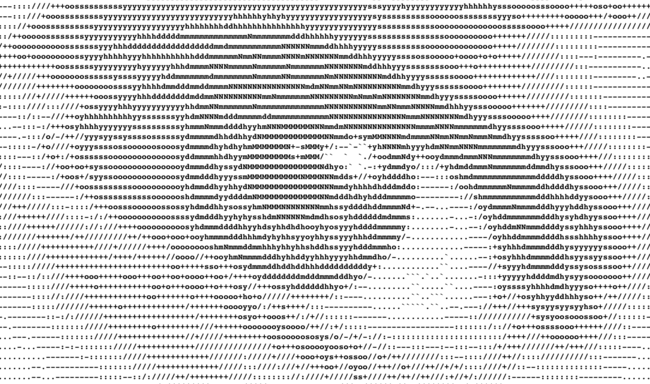
Scaling of characters is problematic when fonts size gets smaller then 4-5 pixels, so image above is of lower quality then otherwise possible. If we zoom in then individual characters become visible


The idea was to take a handful of pixels and average it to a single grayscale value. It is possible because each pixel's luminosity is expressed as a single value from 0 - 255. Then we would create a look up table of how each character is mapped to the same grayscale value. During our research we found that there is an unofficial standard 70 characters.

I was going to use CImg library to import and image and get at it's pixel data. However on a MAC there was an issue, it complained about X11 library not being found (Mac dropped support for X11). There is open-source project that can be installed on the Mac www.xquartz.org, however that did not help. I tried setting different flags in CImg header file without success.
I moved on to trying to code my own BMP decoder by reading specification for this file format found here. This proved to be harder that I thought since each BMP file is split into 4 parts: File header, Info header, RGB array and colour-index (actual data). And parsing would depend on different flags in those headers, which was way more work then I was willing to take on. This also was pretty far from course curriculum of putting the code on GPU.
(Adam Kolodko) was looking into taking a function from CImg library that is used to resize the image.
CImg<T> get_resize(const int size_x, const int size_y = -100,
   const int size_z = -100, const int size_c = -100,
   const int interpolation_type=1, const unsigned int boundary_conditions=0,
   const float centering_x = 0, const float centering_y = 0,
   const float centering_z = 0, const float centering_c = 0);
However this function uses different approaches to do that depending on the size of the image and other properties, which meant that optimized code would only run in certain cases. And also it already has multithreading implemented for some of it's computationally intensive tasks.
We also played with the idea of modelling/plotting large data interactively in the browser by using Plotly.JS, the website could be found here