Difference between revisions of "MAP524/DPS924 Lab 1"
(→Part A: Setting up Android Studio on Linux) |
(→Part B: Configure your environment) |
||
| Line 25: | Line 25: | ||
<li>You should now be able to run the gradle command without the ./ prefix. Try running this command to verify:</li> | <li>You should now be able to run the gradle command without the ./ prefix. Try running this command to verify:</li> | ||
<pre>gradle -h</pre> | <pre>gradle -h</pre> | ||
| + | <li>Unless it complains it's not executable, use the "chmod +x " command to add execute permissions to that file. | ||
| + | <li>Try the following commands to ensure they work. If they don't then adjust your environment in step 1 or install missing software. Also read the output from the adb/android commands to get an idea of what they are used for: | ||
| + | <pre>java -version | ||
| + | javac -version | ||
| + | adb -h | ||
| + | android -h</pre> | ||
| + | <li>We now need to create some basic source code so we can build it into an Android app. Use the mkdir command to create a source tree that looks like this (you can download the files you need [https://scs.senecac.on.ca/~andrew.smith/android/2015-02/SimpleProjectFiles.zip here]: </li> | ||
| + | <pre> | ||
| + | . | ||
| + | ├── build.gradle | ||
| + | ├── local.properties | ||
| + | └── src | ||
| + | └── main | ||
| + | ├── AndroidManifest.xml | ||
| + | ├── java | ||
| + | │ └── org | ||
| + | │ └── hello | ||
| + | │ └── HelloActivity.java | ||
| + | └── res | ||
| + | ├── layout | ||
| + | │ └── hello_layout.xml | ||
| + | └── values | ||
| + | └── strings.xml | ||
| + | </pre> | ||
</ol> | </ol> | ||
Revision as of 13:51, 30 June 2015
Lab 1: Build an Android App with Gradle
Part A: Setting up Android Studio on Linux
- Download the latest version of Android Studio.
- Unzip the file. You should get a directory named "android-studio".
- In a terminal step into the android-studio/bin directory and run the "studio.sh" script.
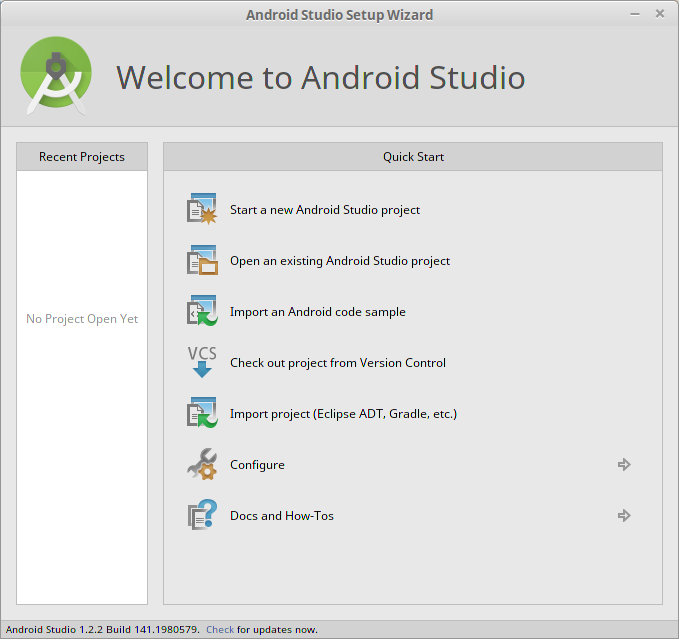
- Follow the instructions and install Android Studio. You should end up with something like this:
- At this point you should be able to install any updates, if there are any, by clicking "Check for updates" at the bottom of the window.
- You can now close Android Studio.
Part B: Configure your environment
- In a terminal window, edit your .bashrc file to set your PATH and other environment variables.
- You should now be able to run the gradle command without the ./ prefix. Try running this command to verify:
- Unless it complains it's not executable, use the "chmod +x " command to add execute permissions to that file.
- Try the following commands to ensure they work. If they don't then adjust your environment in step 1 or install missing software. Also read the output from the adb/android commands to get an idea of what they are used for:
java -version javac -version adb -h android -h
- We now need to create some basic source code so we can build it into an Android app. Use the mkdir command to create a source tree that looks like this (you can download the files you need here:
export PATH=/home/$USER/android-studio/gradle/gradle-2.2.1/bin:$PATH:/home/$USER/Android/Sdk/tools:/home/$USER/Android/Sdk/platform-tools:/home/$USER/bin
export ANDROID_SDK_HOME=/home/$USER/Android/Sdk
export HISTTIMEFORMAT='%F %T '
export HISTSIZE=2000
gradle -h
.
├── build.gradle
├── local.properties
└── src
    └── main
        ├── AndroidManifest.xml
        ├── java
        │   └── org
        │       └── hello
        │           └── HelloActivity.java
        └── res
            ├── layout
            │   └── hello_layout.xml
            └── values
                └── strings.xml
